Getting the right fit for your AirPods Pro is vital if you want to feel comfortable wearing them, but also to benefit fully from their impressive ANC. Changing your AirPods Pro tips can feel a little bit scary, and not just because we’re dealing with some of the best wireless earbuds, and some rather expensive ones at that. It requires a bit more force than you might expect.
If you need some advice on doing it safely, we’re here to help. We’ve done the scary work for you so you can be rest assured you’re about to do the right thing with the best AirPods around. We’ll show you the steps for what to do as well as take a quick look at why you might want to swap out your AirPods Pro eartips. These tips apply for the AirPods Pro 2 as well as the original AirPods Pro.
Steps for how to change your AirPods Pro tips
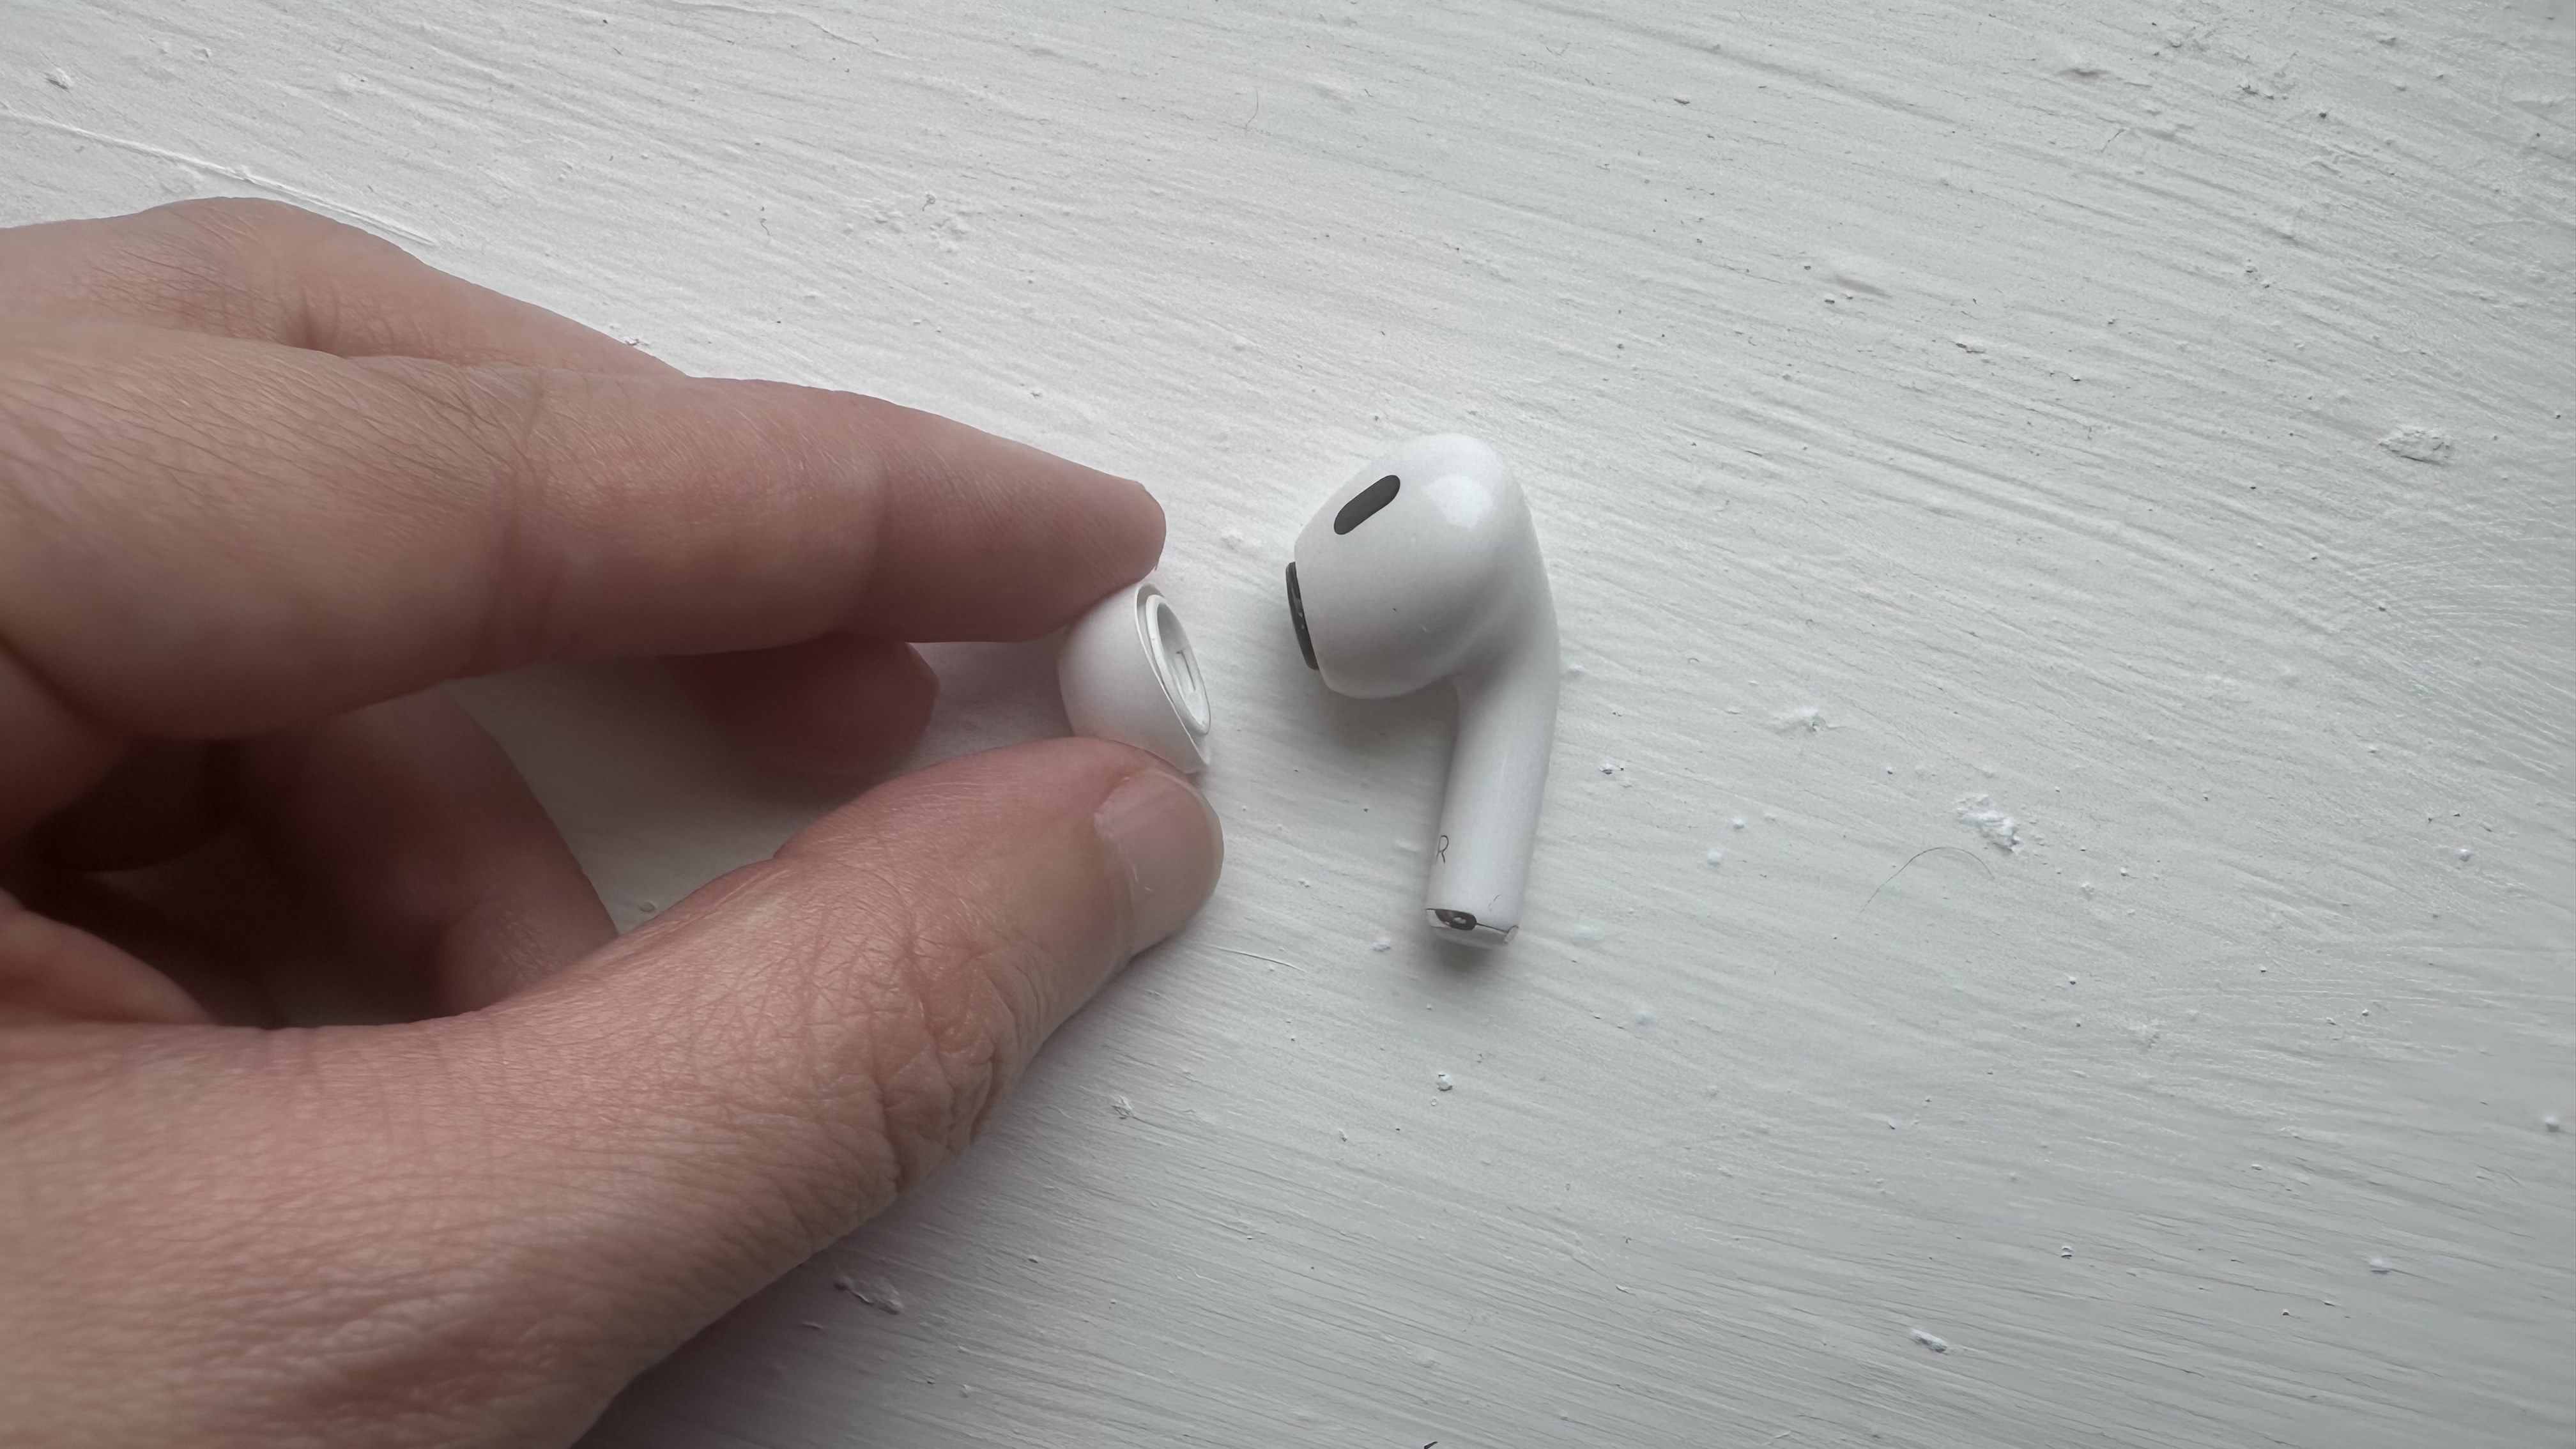
- Pinch the ear tip close to the bud’s body and give it a tug until it comes out with a click and the black speaker is exposed.
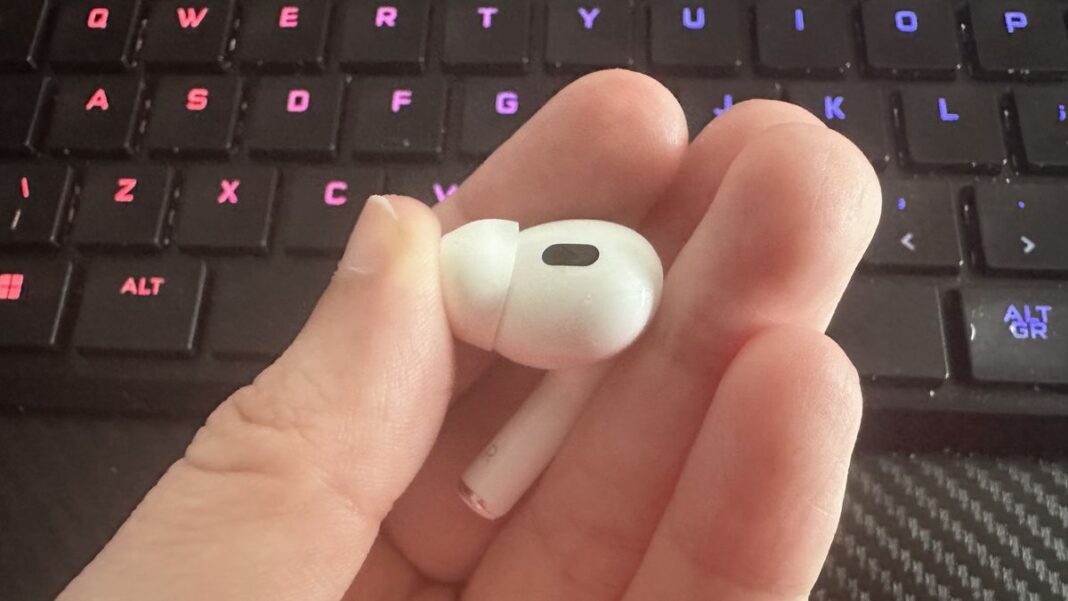
- Align the replacement ear tip correctly in the same position and push it in until it clicks.
- Check that it’s fully clicked into place all around.
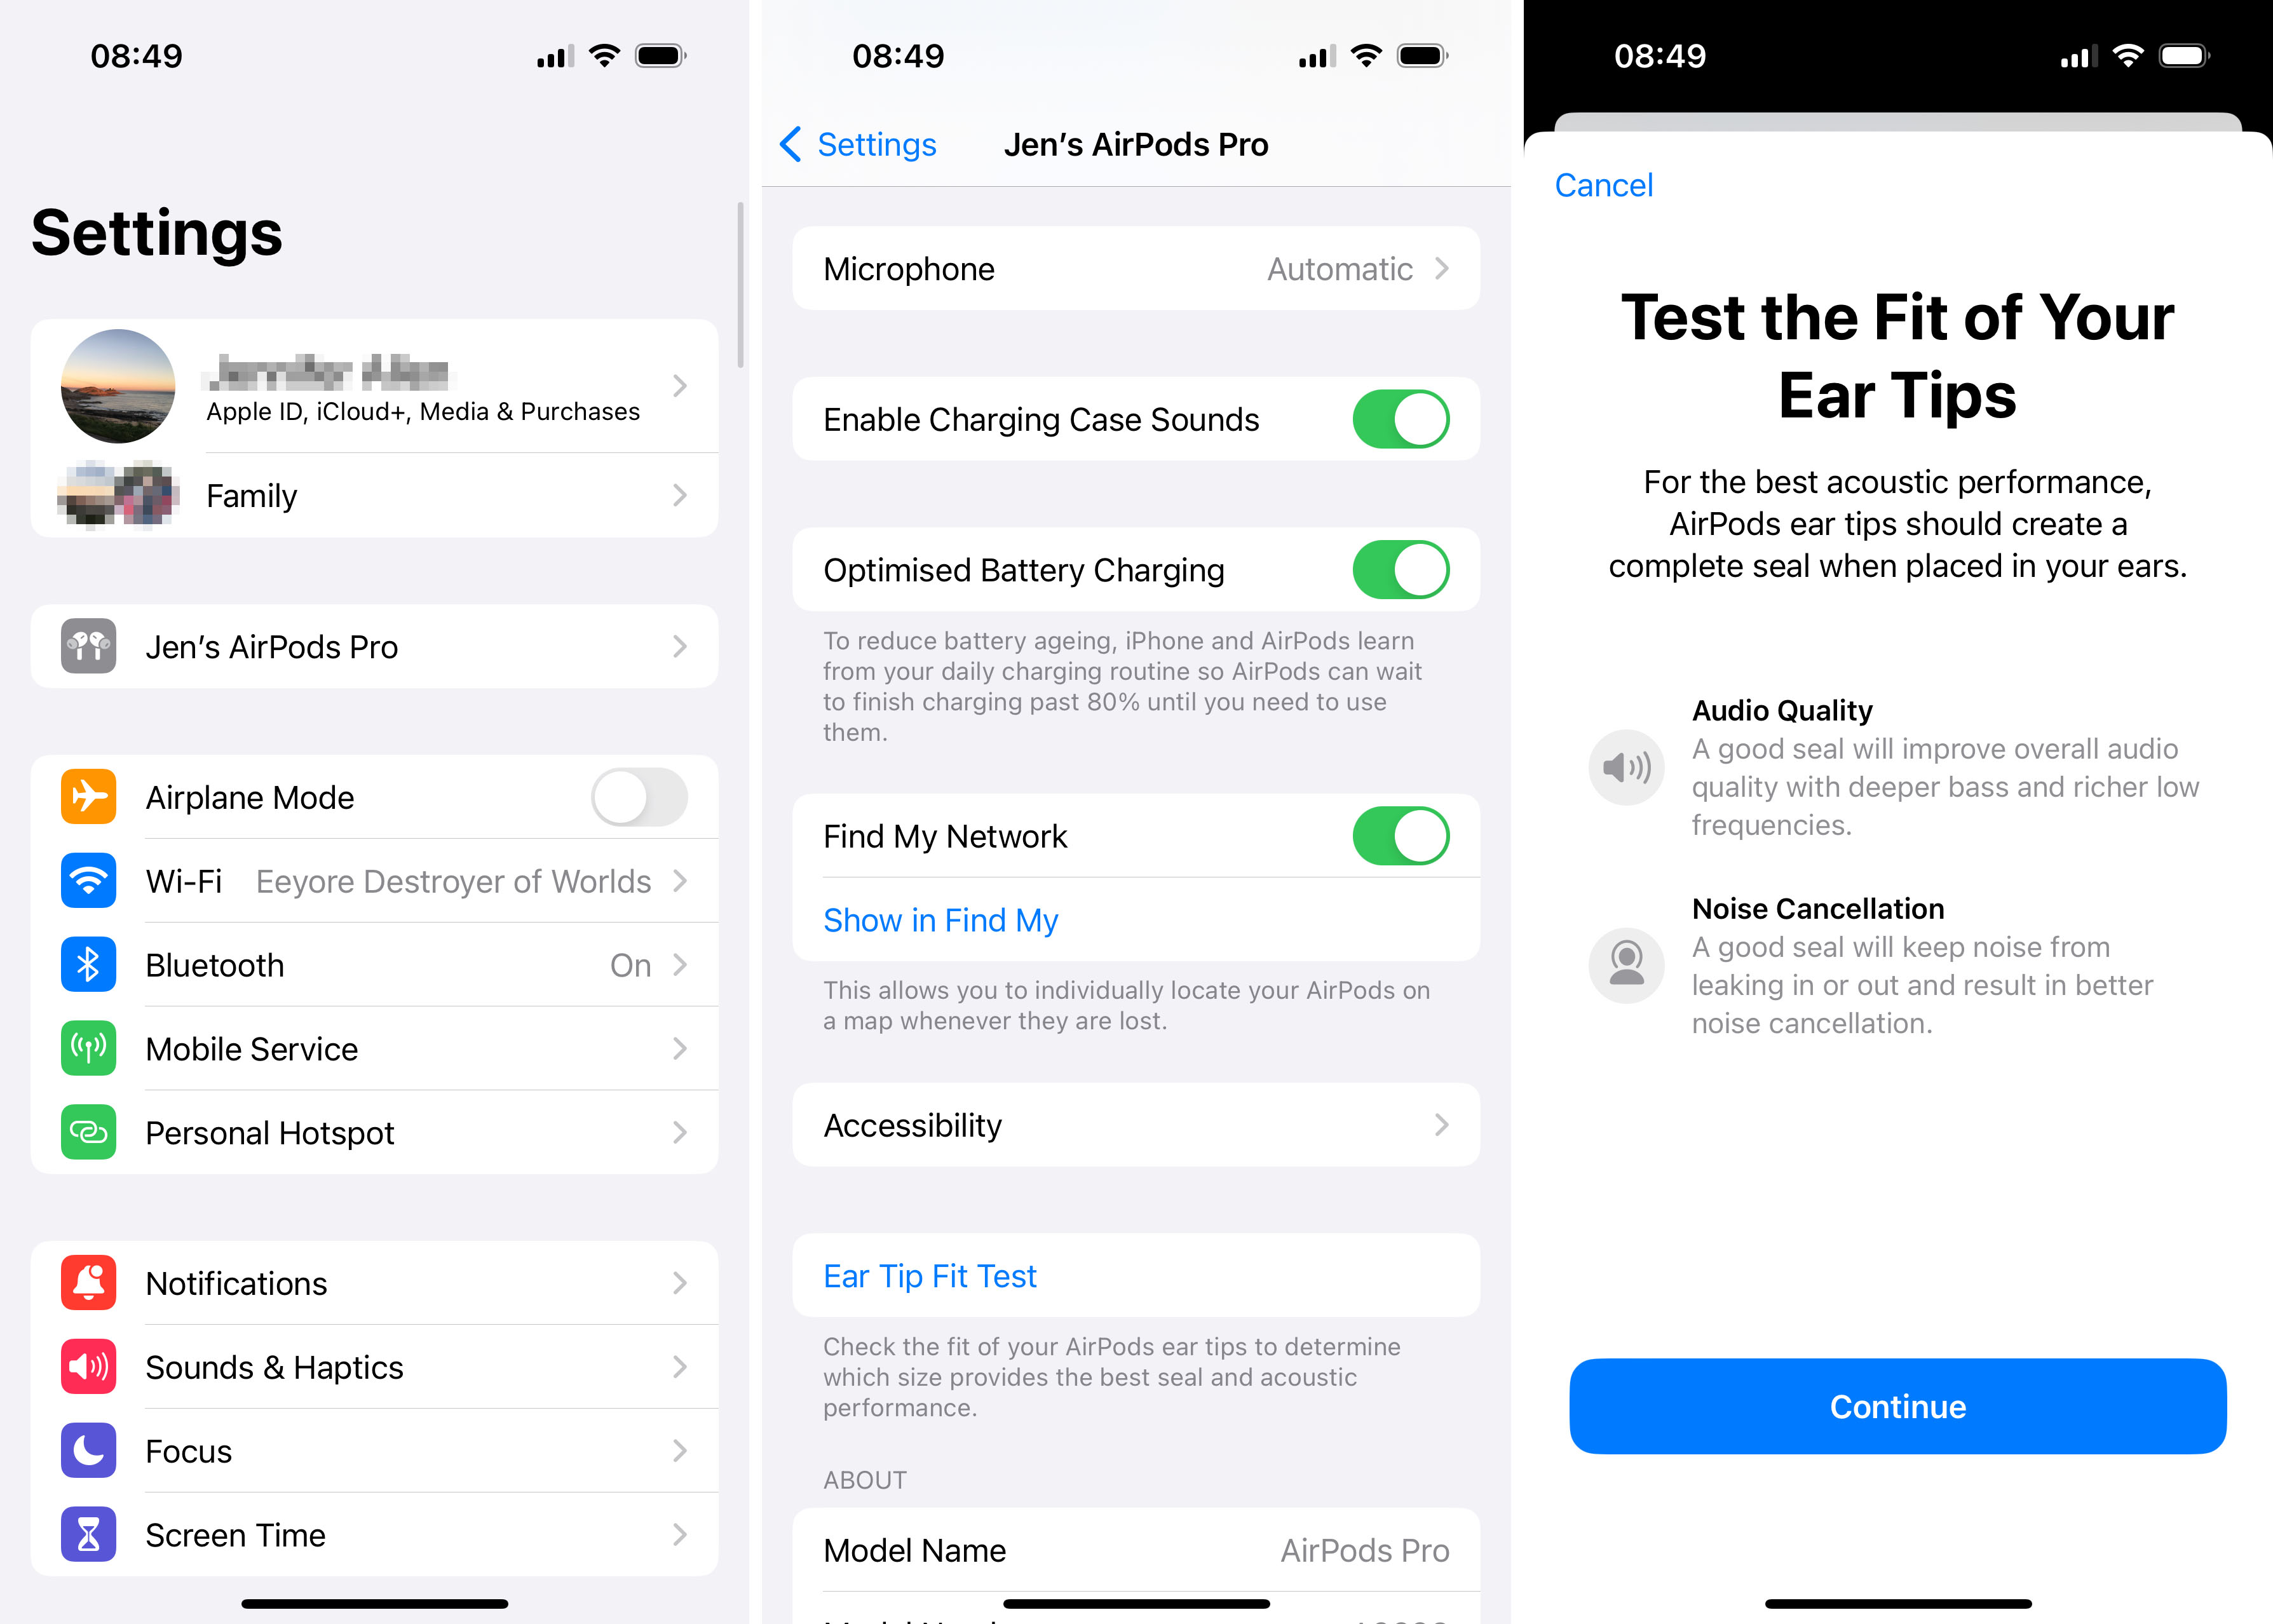
- Run the ear tip fit test app to check you have the right fit.
Step by step guide
Pinch the ear tip
(Image: © Future)
Pulling out the ear tip already attached to your Apple AirPods Pro is simple enough, but a little unnerving too. Pinch the base of the ear tip and pull. It only takes a moment and doesn’t take much strength, but it takes just enough effort to make you worry about the dull noise it makes as you tug. It’ll pop out with a click (unlike most earbuds, Apple has developed a kind of clip system). You’ll know you’re done when you can see the exposed black driver of the earbud, as in the image above.
Place the replacement ear tip

(Image: © Future)
Replacing the ear tip is essentially the opposite approach to removing it. Place it around the black driver unit – and check that it’s aligned correctly, because the fitting is an oval shape, not circular like most ear tips. Push it in until it clicks in and feels suitably snug. Check it’s placed securely with no give or risk of it falling out – give it a wobble, basically, and make sure you can see a gap in its connection anywhere.
Run the Ear Tip Fit Test

(Image: © Future)
To make sure you have the right ear tip size for your ears, run the AirPods Pro ear tip fit test. Go to Settings > Apple AirPods Pro > Ear Tip Fit Test and run through the test here. It doesn’t take long but it helps you check there’s a good seal so you get better audio quality and more effective active noise cancellation.
How to change your AirPods Pro tips FAQ
How long do AirPods Pro tips last?
AirPods Pro tips last a long time. I haven’t found the need to replace them after many months of use. Some sources recommend doing so every few months, though this tends to be for hygiene reasons, and you can always clean them instead. You may find that if you are prone to earwax build-up, they may become discolored – so you may prefer to replace them in that case, but that’s up to you.
Is it OK to use AirPods Pro without tips?
You really shouldn’t. Nothing stops you from doing so and your ears won’t be damaged by going without tips, but there’s nothing to be gained here. Instead, you’ll miss out on the finer nuances of your listening experience and ANC is unlikely to work anywhere near as well. You need a good firm fit to get the most from these earbuds.
Can you clean your AirPods Pro ear tips?
Yup! This is actually one of the better methods for cleaning your AirPods. Pull out the ear tip then give it a swoosh with a cotton bud to get all that natural but unpleasant gunk out. It’s far easier than cleaning the tips while they’re still attached to your earbuds.
How to change AirPods Pro tips: Final Thoughts
Maintaining some of the best earbuds isn’t a tricky proposition but it’s useful to get the right fit for your ears, as well as know how to clean up your AirPods Pro and how to clean your AirPods case. If you’re worried about the volume of your AirPods Pro, we also have tips on how to make AirPods louder.
Source link


